• Shopping Cart Shopping Cart
    0Shopping Cart
White Toner Transfer
  • News
  • Media/Software
  • Videos
  • Tutorials
    • Laser-Dark (No-Cut)
    • Laser-Light (No-Cut)
    • Multi-Trans
    • TransferRIP
    • Tips & Tricks
  • Support
    • FAQs
      • Laser-Dark (No-Cut)
      • Laser-Light (No-Cut)
      • Multi-Trans
      • TransferRIP
      • Printer Issues
      • Heat Presses
    • Restricted content
    • Downloads
  • Contact
  • My Account
  • Click to open the search input field Click to open the search input field Search
  • Menu Menu

Create Customized Font T-Shirt Designs

A simple way of creating a customized Font t-shirt design is by manipulating the fonts you have available. There are thousands of fonts to choose from these days, but what about the fonts you already have? Font t-shirt designs are very popular at the moment and you should be creating them. And selling them.

One of the biggest decisions to make on a T-shirt design – is the font, also known as a typeface. There are hundreds, maybe thousands of fonts out there, and your job is to choose the best typeface for the job, arrange it in a way that is graphically pleasing, and conveys your message in the best way possible.

In our latest tutorial video, we take you through the process of manipulating the fonts you have available to create some pretty amazing t-shirt designs.

Download this tutorial as a printable PDF

How to Create Customized Fonts T-Shirt Designs
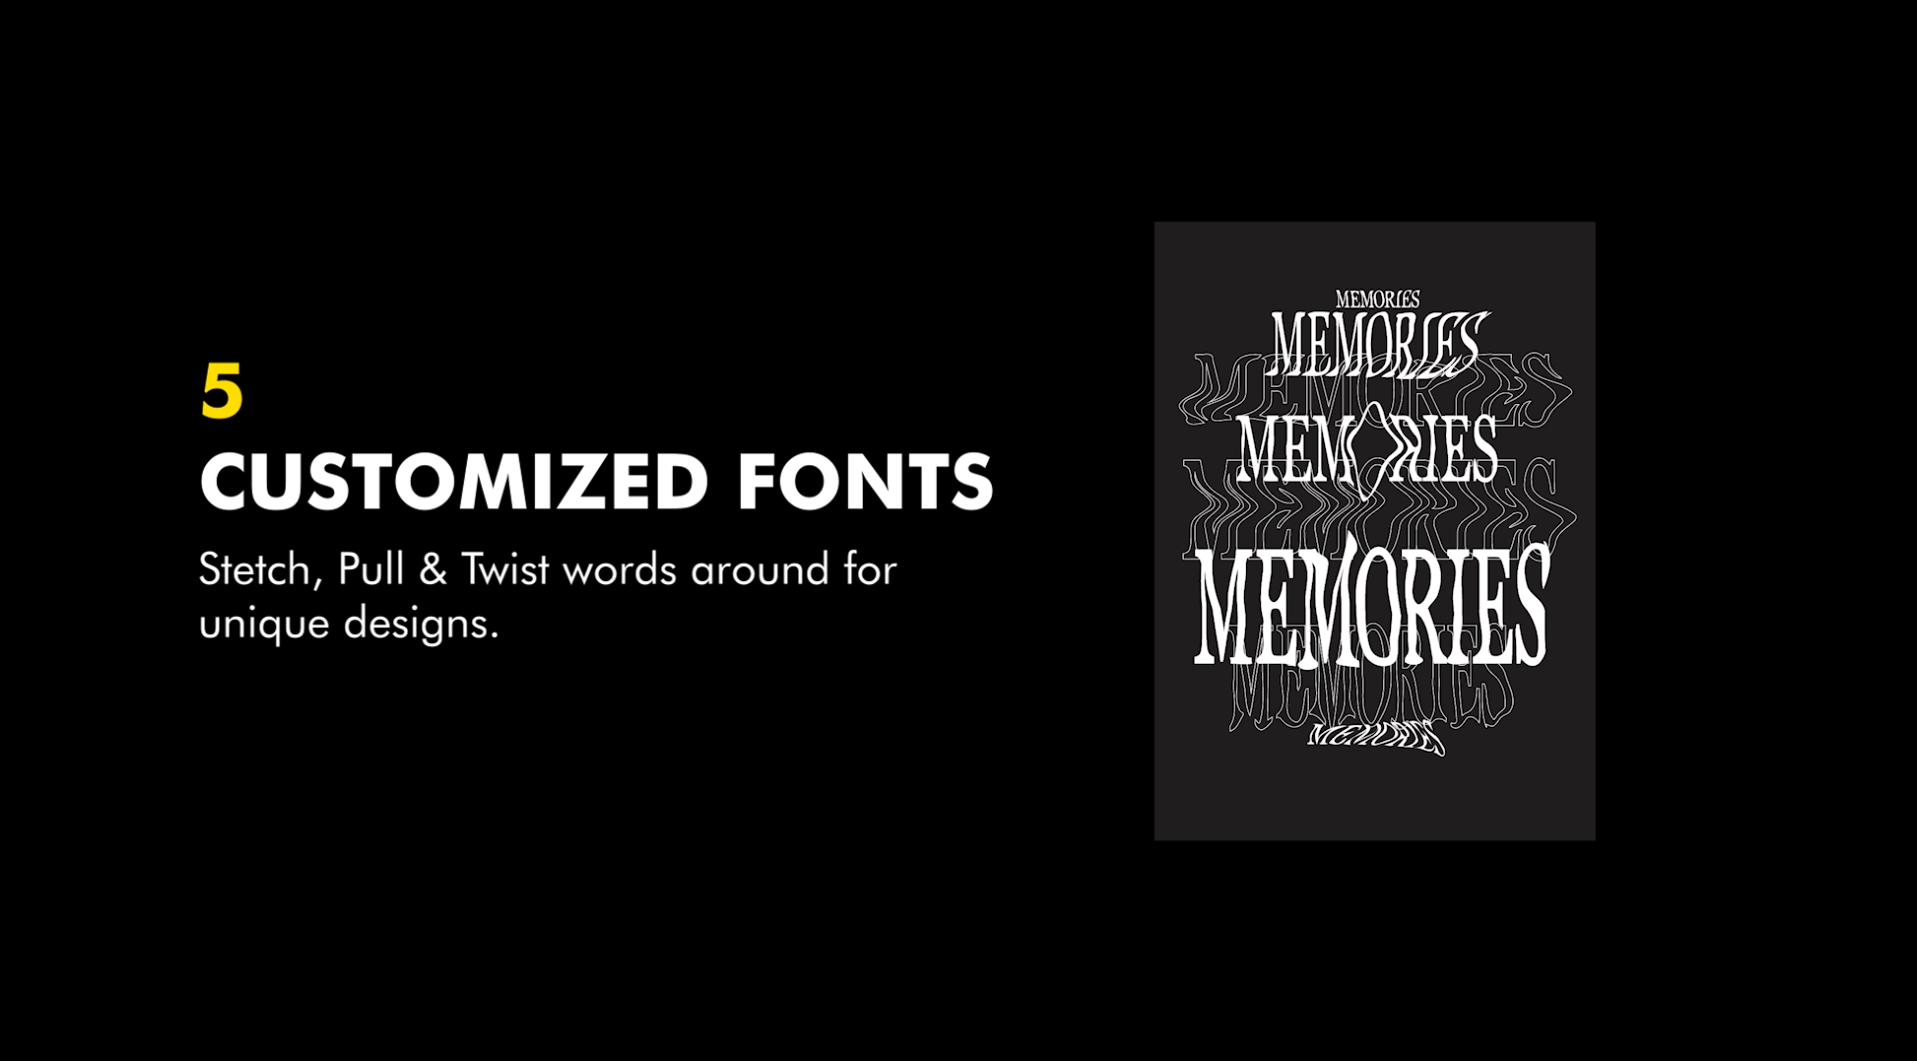
Step 1: Start Typing

Once you have illustrator open and you have setup your artboard, we need to begin by typing out a saying or an attractive word. Below, you can find some external links for inspiration. If you haven’t already checked it out, take a look at our other tutorial on how to create custom split font t-shirt designs.

Popular T-Shirt Quotes & Words:
  • Funny T-Shirt Quotes
  • Famous Quote T-Shirts
  • T-Shirts with Quotes
  • Popular 1-Word T-Shirts

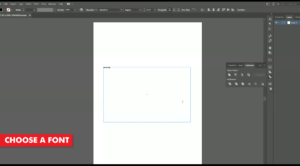
Step 2: Choose a Font

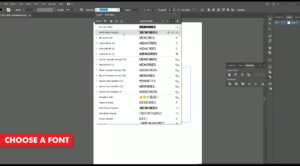
Now that we’ve typed out our word or phrase, we need to choose an interesting looking font or typeface.

For this video, we went with the word “Memories” and the typeface we chose goes by the name “Abril Regular”.

We created a copy of our word, before we made any changes to it. This all depends on how you work, but when I’m working on a project where I’m customizing and manipulating fonts – i want to have the option of going back to the original or to grab another version, without having to type out the word or phrase again.
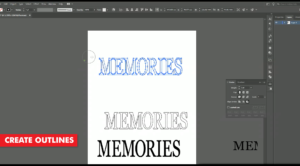
Step 3: Create Outlines

Once we have our word or phrase in place, the first thing we need to do before we can start manipulating it, it to convert the type into an outline. Doing this, turns our font into an object instead of a changable or editable text.

The next step we need to take is the fun part. Head over to your tool bar and choose the “Warp Tool”. This tool will help us create some customized font t-shirt designs.
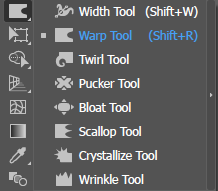
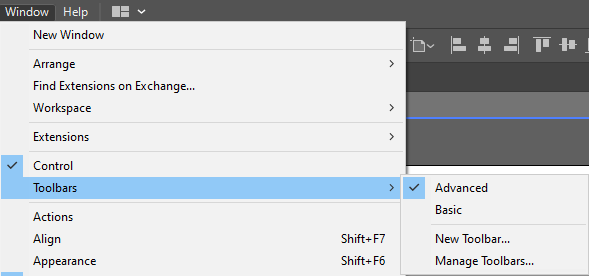
If you cannot see the Warp tool option, then you will need to activate it. This option was hidden for me too. This is because my toolbar was set to the “Basic” toolbar option. And we need the “Advanced” option in order to access the warp tool option.

To activate the “Advanced” toolbar, you need to head over to the top menu and choose “Window”, then choose “Advanced” from the “Toolbars” menu.
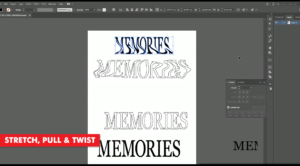
Step 4: Stretch, Pull and Twist your text

With our Warp tool selected, we can now start manipulating our text. Go ahead and twist around the words as much as you like.

Take a look at the other tools available.

  • Twirl Tool
  • Pucker Tool
  • Bloat Tool
  • Scallop Tool
  • Crystallize Tool
  • Wrinkle Tool

Each of the other tools which are available are, can create some pretty strange looking shapes. Shapes that can look appealing to customers.
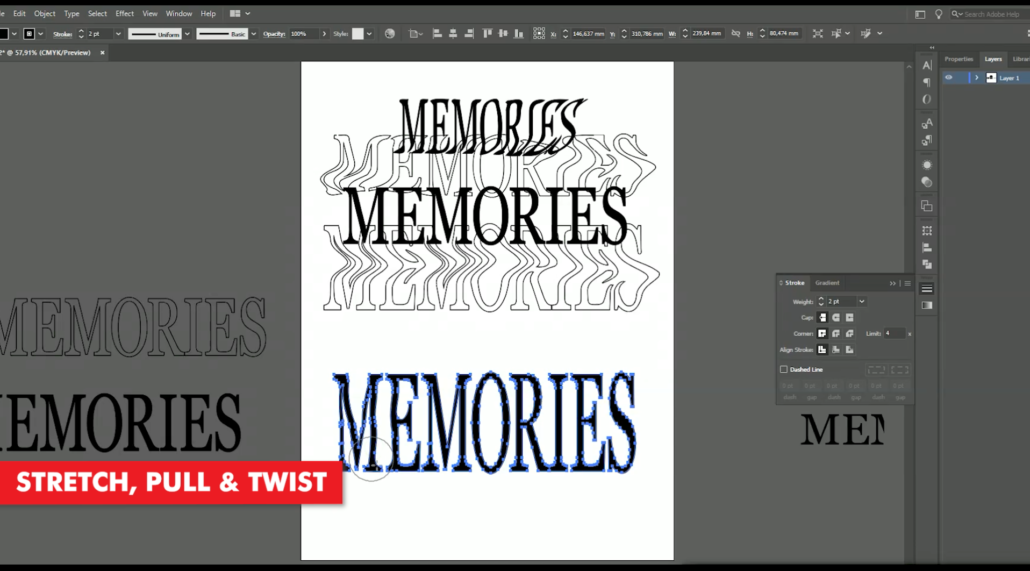
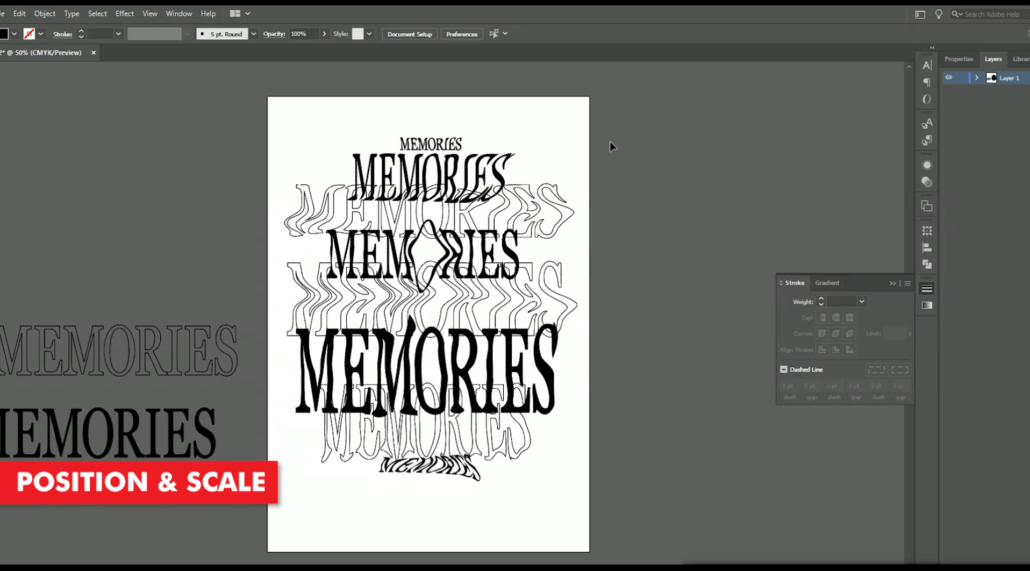
Step 5: Copy, Paste and Scale your text

Not only can you twist and stretch your text, you can also, create as many copies as you want. Enough that you can create a new customized font tshirt design. One which is light and soft when pressed to your t-shirt.
Step 5: Print

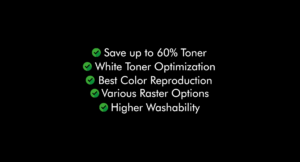
Now that our customized font t-shirt design is complete, we can go ahead and print it. The best to do this is by processing our image through the TransferRIP software. In this video, we created a purely white t-shirt design, so this perticular design would only benefit from using the TransferRIP software, if we used the Micro-Mask raster option.

The Micro-Mask raster option, helps you open up the white parts of your image. In fact, the micro-mask option applies a mask across the whole image. It doesn’t matter which colour values you have. Especially when we compare the micro-mask option to the Dark or Light media raster options.

Learn more about the TransferRIP Image Rasterization options.

Once your design has been printed out, you can then press your t-shirt transfer to your garment. Take a look at our many other tutorials to learn how to press to t-shirts.
Conclusion

For more information on working and printing with Photoshop clipping paths, please take a look at our other tutorials. Our tutorials are primarily focused on how to make your life easier, so you can create designs for heat transfer papers and the OKI white toner laser printers.

You can learn more about our products over at our products page. We have a large range of products, which help you create and customise almost any garment or surface. Our goal is to help your business grow.

Or sign up for the White toner transfer newsletter and we will send tutorials, tips & tricks and inspiration straight to your inbox.

Sign me up!

Leave a comment below. Let us know how your designs turned out and if you have any new topics which you would like to see, then please let us know too.

Download this tutorial as a printable PDF

Share this:

  • Share on Facebook (Opens in new window) Facebook
  • Share on LinkedIn (Opens in new window) LinkedIn
  • Share on X (Opens in new window) X
  • Share on Telegram (Opens in new window) Telegram
  • Share on WhatsApp (Opens in new window) WhatsApp
  • Email a link to a friend (Opens in new window) Email
  • Print (Opens in new window) Print

Like this:

Like Loading…

Related

Categories

  • Newsletters
  • Tutorials
    • Image Preparation
    • OKI White Toner Printers
  • Videos
    • Laser-Dark (No-Cut) LowTemp
    • Laser-Light (No-Cut)
    • Multi-Trans
    • TransferRIP

Newsletter

Latest News

  • How to Create Metallic Christmas Sweaters3rd December 2021 - 2:30 pm
  • Create Custom T-Shirt Designs from Words & Phrases13th August 2021 - 7:30 pm
  • How to Create Illustration Style T-Shirt Designs6th August 2021 - 7:00 pm

Latest Videos

  • How to Create Metallic Christmas Sweaters3rd December 2021 - 2:30 pm
  • Create Custom T-Shirt Designs from Words & Phrases13th August 2021 - 7:30 pm
  • How to Create Illustration Style T-Shirt Designs6th August 2021 - 7:00 pm

Transfer Media

  • Laser-Dark (No-Cut)
  • Laser Dark (No-Cut) LITE
  • Flex-Soft (No-Cut)
  • Laser-Light (No-Cut)
  • Laser Tattoo Paper
  • Multi-Trans
  • Multi-Trans Pro
  • Waterslide HT

Quicklinks

  • Acerca de
  • Transfers/Software
  • Soporte Técnico
  • Videos
  • Preguntas Frecuentes
  • Contacto
  • Mi Cuenta

Quicklinks

  • À propos
  • Media/Software
  • Support
  • Videos
  • FAQs
  • Contact
  • Mon compte

Software

  • IC-Split Software

White Toner Printers

  • OKI Pro8432WT
  • OKI Pro9420WT
  • OKI Pro7411WT
  • OKI Pro6410 Neon

Support

  • Videos
  • Printing Instructions
  • FAQs
  • Restricted content
  • Downloads
  • Restricted content
Popular
  • Preparing images for print10th March 2017 - 9:04 am
  • How to start a t-shirt business7th October 2024 - 12:32 pm
  • TransferRIP: Menu Overview22nd September 2015 - 8:34 am
  • TransferRIP: How to Update the TransferRIP software22nd September 2015 - 9:03 am

Keep in touch

Facebook
Instagram
YouTube


© Copyright - FOREVER GmbH 2020
  • Link to Facebook
  • Link to Youtube
  • Link to Instagram
  • Link to LinkedIn
  • About
  • My Account
  • Imprint
  • Privacy & Cookie Policy
Link to: Create Custom Split Font T-Shirt Designs Link to: Create Custom Split Font T-Shirt Designs Create Custom Split Font T-Shirt DesignsLink to: How to Create Abstract T-Shirt Designs Link to: How to Create Abstract T-Shirt Designs How to Create Abstract T-Shirt Designs
Scroll to top Scroll to top Scroll to top
By clicking "Accept," you agree to the use of third-party cookies and other similar technologies to enhance your browsing experience, analyze and measure your engagement with our content, and provide more relevant website content. Learn more about your choices and cookies.
Accept Read More
Privacy & Cookies Policy

Privacy Overview

This website uses cookies to improve your experience while you navigate through the website. Out of these, the cookies that are categorized as necessary are stored on your browser as they are essential for the working of basic functionalities of the website. We also use third-party cookies that help us analyze and understand how you use this website. These cookies will be stored in your browser only with your consent. You also have the option to opt-out of these cookies. But opting out of some of these cookies may affect your browsing experience.
Necessary
Always Enabled
Necessary cookies are absolutely essential for the website to function properly. This category only includes cookies that ensures basic functionalities and security features of the website. These cookies do not store any personal information.
Non-necessary
Any cookies that may not be particularly necessary for the website to function and is used specifically to collect user personal data via analytics, ads, other embedded contents are termed as non-necessary cookies. It is mandatory to procure user consent prior to running these cookies on your website.
SAVE & ACCEPT

More information can be found on our family of websites!

Are you looking for something else?

  • FOREVER-OTS.com Digital Heat Transfers
  • Black Toner Transfer
%d