How to Create Illustration Style T-Shirt Designs
Like their close cousin the graphic tee, illustrated T-shirts have really taken off in recent years; from intricate fine line drawings to bold prints, some of the most sold designs have been the work of illustrators.
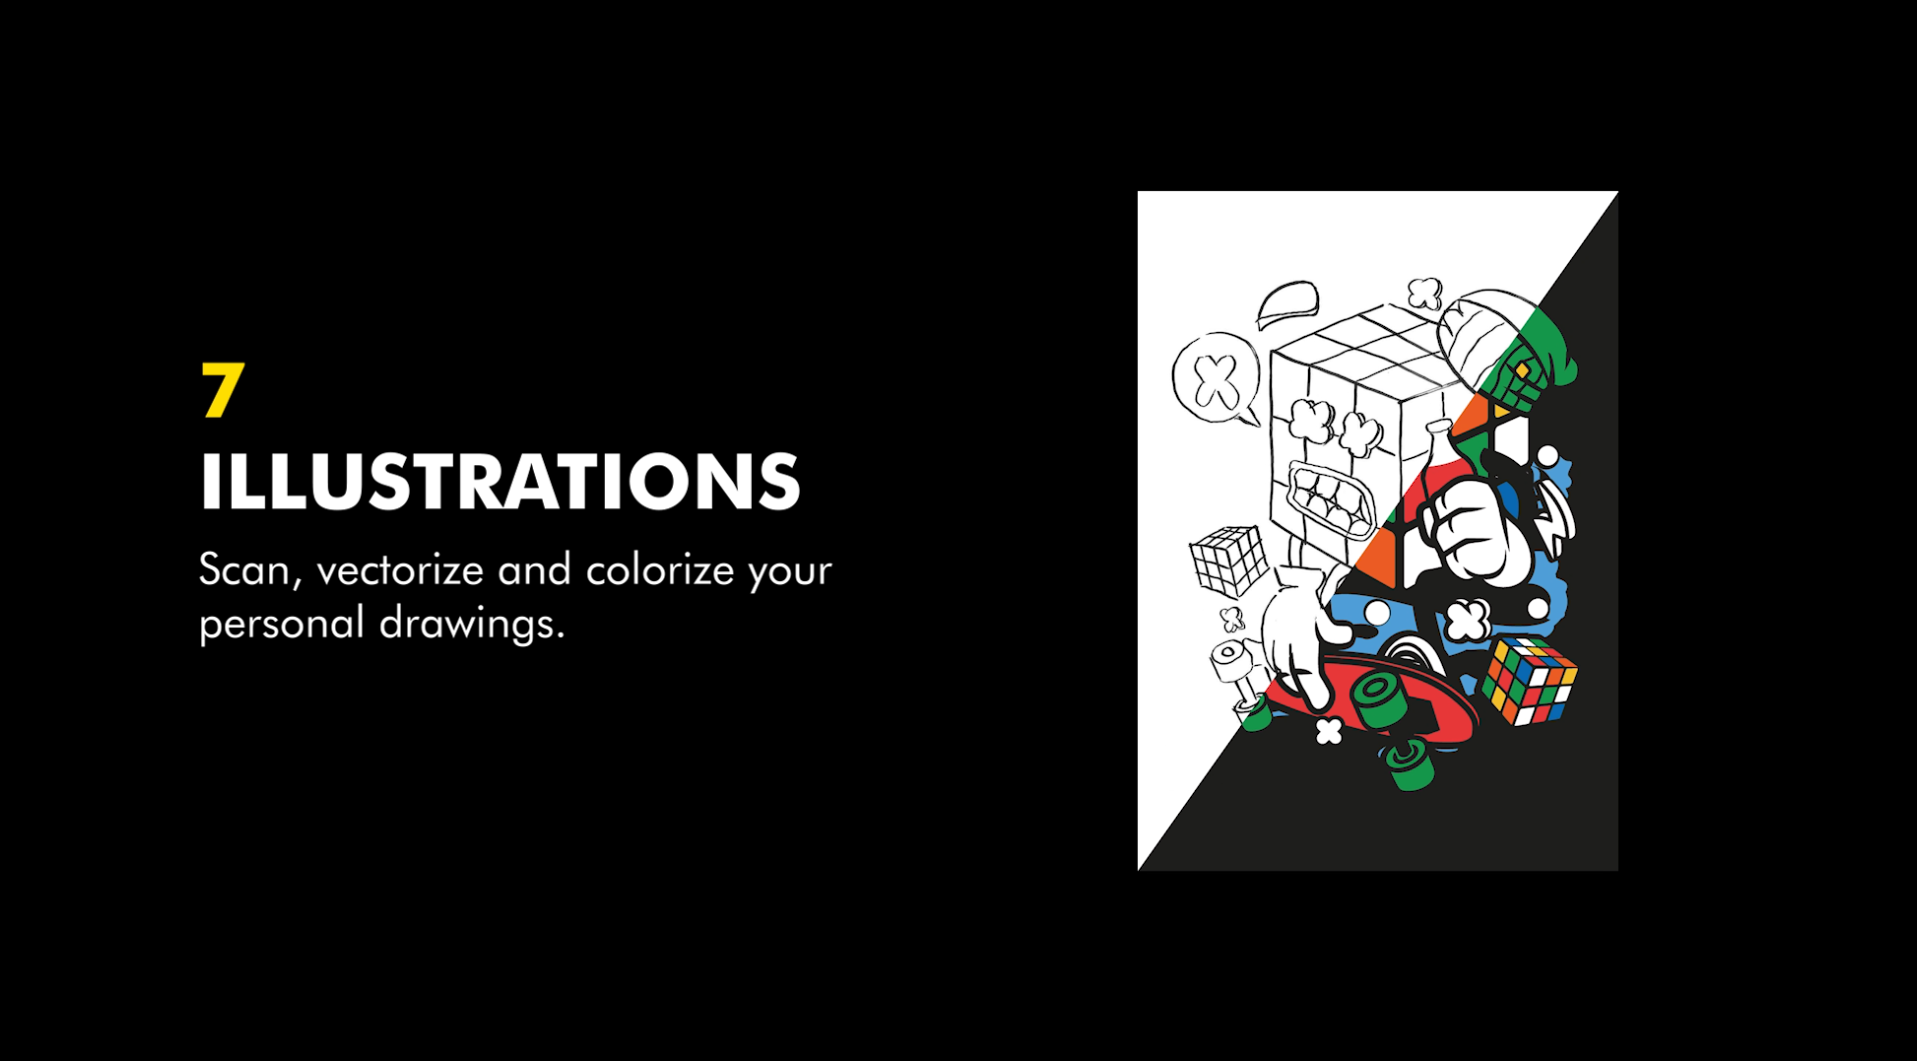
In this tutorial, we will take you through the process of creating your very own illustration style t-shirt designs. And, how to prepare your images for printing with digital heat transfers.
Style and function
With closer links to fine art, illustrated tees tend to have a less explicit meaning than their graphic counterparts. They do crop up as music merch and other forms of promo, but more often they’re an adaptation of an existing print, a way of sharing a much-loved work on a new medium.
Cost Effective
Different printing systems offer various options and solutions which effect the costs of producing illustration style t-shirt designs. When it comes to production, illustration style T-shirts can be more costly to print than graphic T-shirts. This is because their images are often more elaborate. They trend to use finer detailing and more colours than a graphic design, but this is not always the case by any means.
Printing illustrated designs with digital heat transfers is a cost-effective solution. Digital heat transfers and especially the No-Cut solutions, are one of the best solutions for printing illustration style t-shirt designs. This is becasue, No-Cut transfers can handle the finest of details, which we see throughout the best illustration style t-shirt designs.
Low Investment
The amount of colours used in an illustration style t-shirt design does not cost more when printing heat transfers. This is not the case with other t-shirt printing systems on the market. Only the most expensive solutions can handle take on heat transfers, but this option comes with a large upfront investment. No-Cut transfers are a print-on-demand solution with high washability and durability.
Check out the blog post here, where you can read more about the scope of illustrated t-shirts.
How to Create Illustration Style T-Shirt Designs
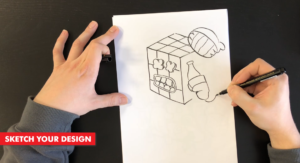
Step 1: Start Sketching
The first thing we need to do is get out our pencil and paper. Then start sketching out our design. If you are having trouble coming up with some ideas, you can find inspiration online.
Illustration Inspiration:
These are just a few of the many inspiration style website, which you can find with a quick google search.
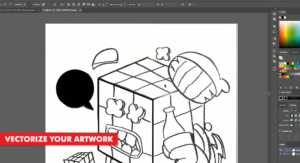
Step 2: Scan, Import & Vectorize
Once you have sketched out your illustration and made sure that it does not include any areas which are larger than 3 fingers. Then we are good to move on to the next step. Converting our pencil lines into vector lines.
These days, there are many different ways of getting your sketching into your computer. You probably already have your favourite option in mind.
Here are a few ways of getting your paper sketches into your computer:
- Scan your image
- Take a Photo with your phone
- Take a photo with your camera
Once you have your image on your computer, then we need to open it up in our vector based program or app. For this tutorial, we went with Adobe Illustrator.
File Setup
We created a new document with the paper size set to A3. This is the size we want to print out our image. Next, we imported our image and scaled it to fit the artboard. If you are not familiar with illustrators vector drawing tools, then here they are.
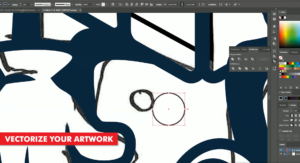
We went with the pen tool. We find the Pen Tool gives us the best options for redrawing our illustrations and sketches.
Redrawing Tips
A great tip, when redrawing your sketches is to drop the opacity of your scanned sketch down. Somewhere in the region or 50% or lower. We just want to be able to see our sketch without it preventing us drawing our vector lines.
Once you’ve dropped down the opacity, we should lock our sketch layer, so it doesn’t get in the way.
Step 3: Add Color
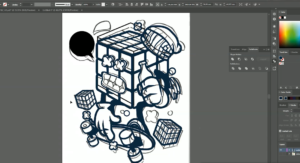
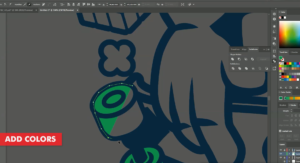
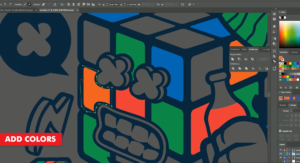
Now that our image has been redrawn, we can start adding colour to our illustration. Again, we used the Pen Tool to add the colour layers.
Before you start creating the colour sections, it would be best to create a new layer and move it below the outline of our illustartion. At the same time, we can turn our scanned illustration layer off, as we no longer need this layer.
Step 4: Print through the TransferRIP
Now that our illustration t-shirt design is complete, we can go ahead and print it. The best way to do this is by processing our image through the TransferRIP software.
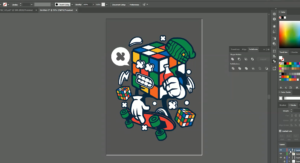
In this tutorial, we created a very colourful image, with dark or black areas in the image. We do not need to print these areas if we print on a black or dark coloured t-shirt garment. Our image uses lots of small elements. In fact, in illustration does not have any block of colour which is larger than three fingers.
3 Finger Rule
If your t-shirt designs have blocks of colour larger than 3-fingers, then we almost always recommend using a raster option to break up these areas. These areas of your image can of course be manually broken up with custom halftone dots or vintage effects. This of course, depends on your situation, so if manually breaking up those areas is not possible, then using the TransferRIP micro-mask option is a quick and easy solution.
The micro-mask option applies a mask across the whole image. It doesn’t matter which colour values you have. Especially when we compare the micro-mask option to the Dark Media raster or the Light media raster options.
Choosing the Micro-Mask option in this case will increase your t-shirts washability, durability and save you toner at the same time.
Learn more about the TransferRIP Image Rasterization options.
Step 5: Press to T-Shirt
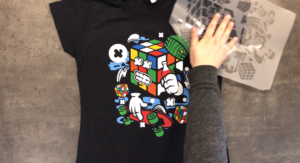
Once your design has been printed out, you can then press your t-shirt transfer to your garment.
Take a look at our many other tutorials to learn how to press to t-shirts.
Conclusion
For more information on working and printing with Photoshop clipping paths, please take a look at our other tutorials. Our tutorials are primarily focused on how to make your life easier, so you can create designs for heat transfer papers and the OKI white toner laser printers.
You can learn more about our products over at our products page. We have a large range of products, which help you create and customise almost any garment or surface. Our goal is to help your business grow.
Or sign up for the White toner transfer newsletter and we will send tutorials, tips & tricks and inspiration straight to your inbox.
Leave a comment below. Let us know how your designs turned out and if you have any new topics which you would like to see, then please let us know too.

